MicroTardis Administration Guide
This step-by-step guide will show you how to perform the common administrative tasks on your MicroTardis server with administrative privileges that are required for an administrator to perform these tasks.
Create New Users
MicroTardis has two authentication methods. One is local user authentication which is the default solution using a local authentication database. In this case, site administrator is required to perform user account maintenance and validation tasks. For each valid user, site administrator has to manually create a user account with a username and a password and grant this user proper privileges to register he/she in MicroTardis.
The other method is integrated user authentication with RMMF Booking System (EMBS) which uses a remote RMMF authentication database. MicroTardis site administrator is not required to maintain user accounts in MicroTardis database in this case. It automatically creates a new user account in MicroTardis local authentication database when a valid RMMF user (who has registered as an user in EMBS) first log in MicroTardis with a valid username and a valid password. In this case, the first login is considered as user registration in MicroTardis. After successful registration, MicroTardis would only use local authentication database to authenticate users. There won’t be communication between MicroTardis and EMBS for user authentication if the user account already exists in MicroTardis database.
Sign in MicroTardis Administration Interface
First, please sign in MicroTardis via its login page with your administrator account.

Click on your username shown in the top left-hand corner of the screen to access to MicroTardis administration tool.
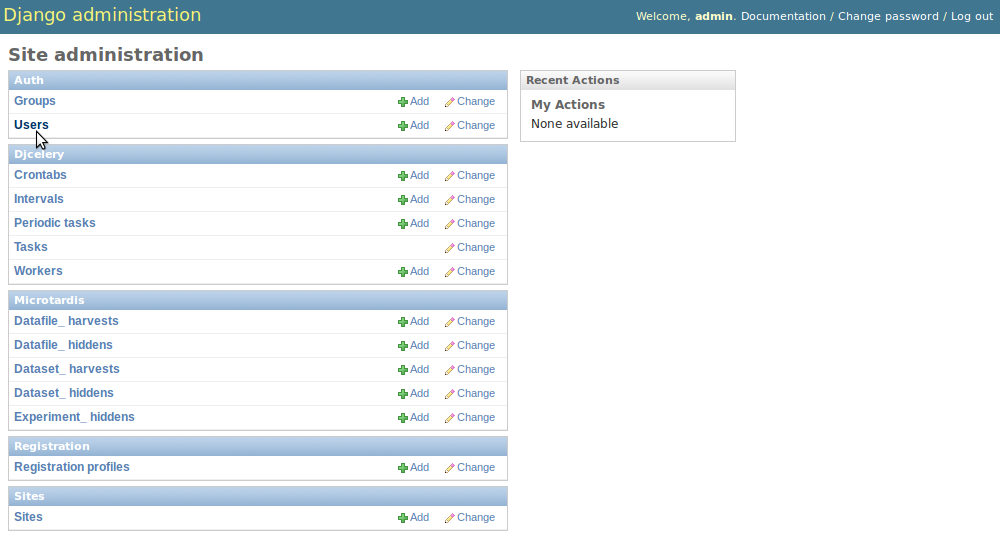
Then you will see the following page after successful login, which is the home page of MicroTardis administration tool.
Create Data in Three Related Tables
You will have to add objects into the following three different database tables to complete the process of creating a user account.
- Users: This is a Django built-in data model. Django comes with a user authentication system that handles user accounts, groups, permissions and cookie-based user sessions. MicroTardis/MyTardis uses it to benefit from Django’s authentication system.
- User profiles: It is an extension to the Django standard user model to describe more information about users in MicroTardis/MyTardis.
- User authentications: This is used to specify user’s authentication method. MyTardis supports multiple authentication mechanisms: VBL, LDAP, local DB, and Shibboleth. MicroTardis uses local DB authentication by default.
The following three subsections will show you how to create these data objects step-by-step.
Add a User
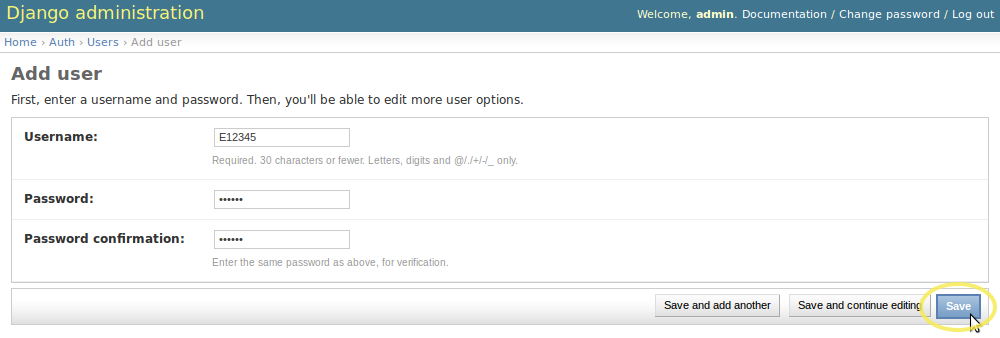
First of all, find Users in Auth box on your administration home page; then click on it.
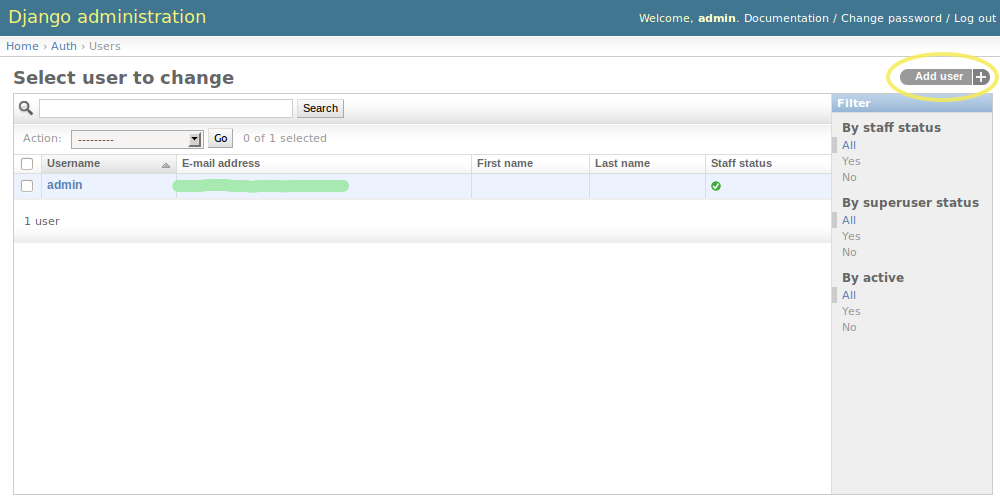
Then you will see the following page showing Users data table. Click on Add user button in the top right-hand corner of the screen.
Input username and assign a password to the user. Click on Save button in the bottom right-hand corner of screen to create an user object.
Continue to edit user’s personal information,
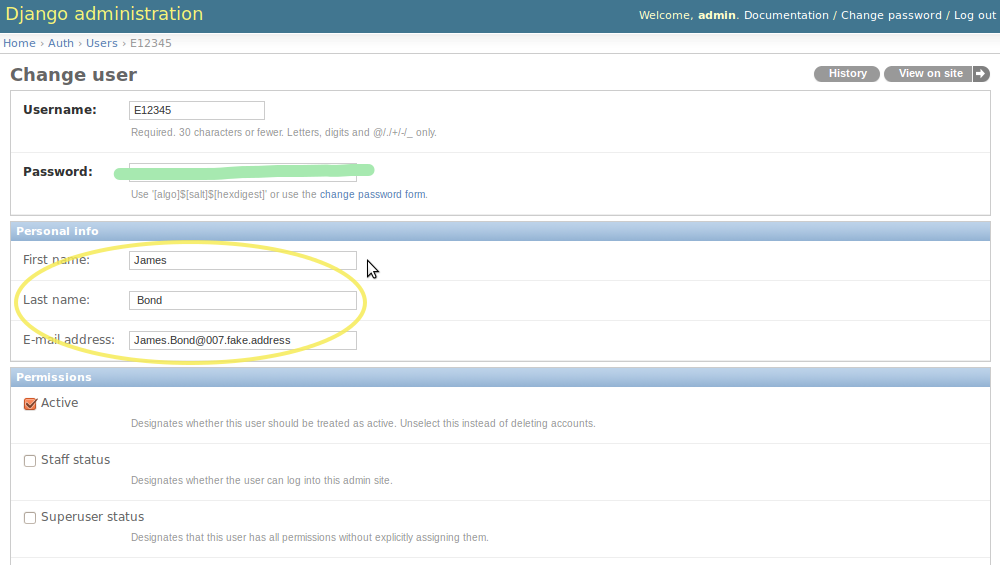
(OPTIONAL) Tick the checkbox of Staff status to mark the user as a staff member if you would like to create a MicroTardis site administrator account. Once the user is marked as a staff member, and thus is allowed access to the administration interface.
(OPTIONAL) Tick the checkbox of Superuser status to mark the user as a superuser member if you would like to create a super account with full access and data management control. Once the user is marked as a superuser member, and thus is assigned all permissions.

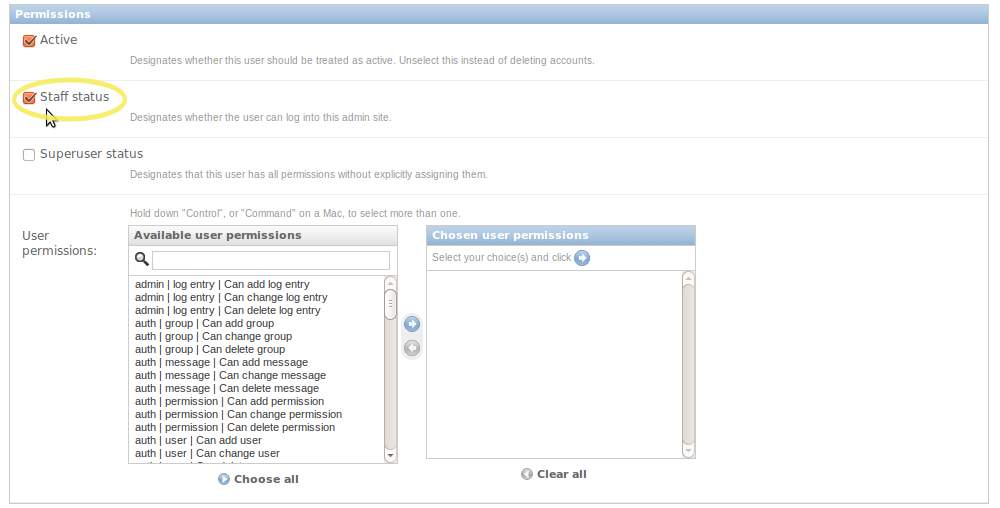
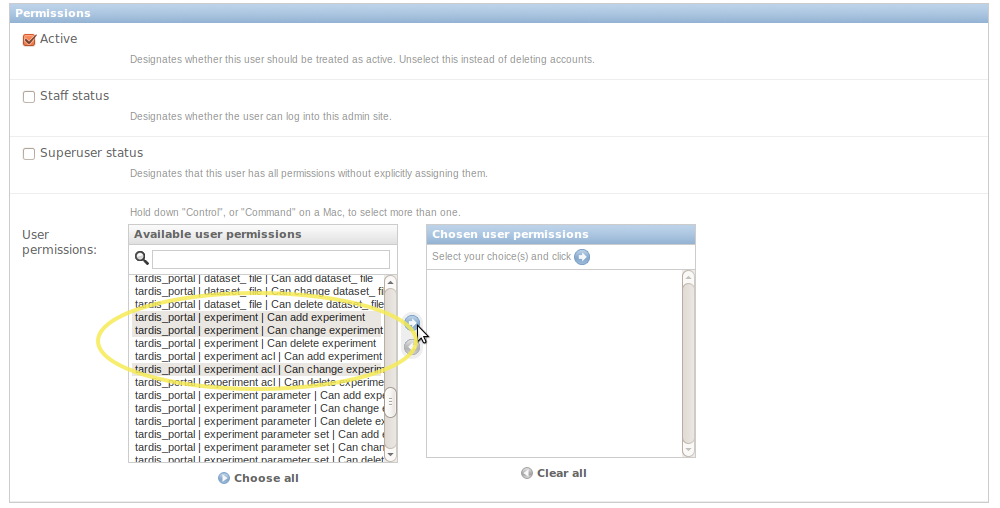
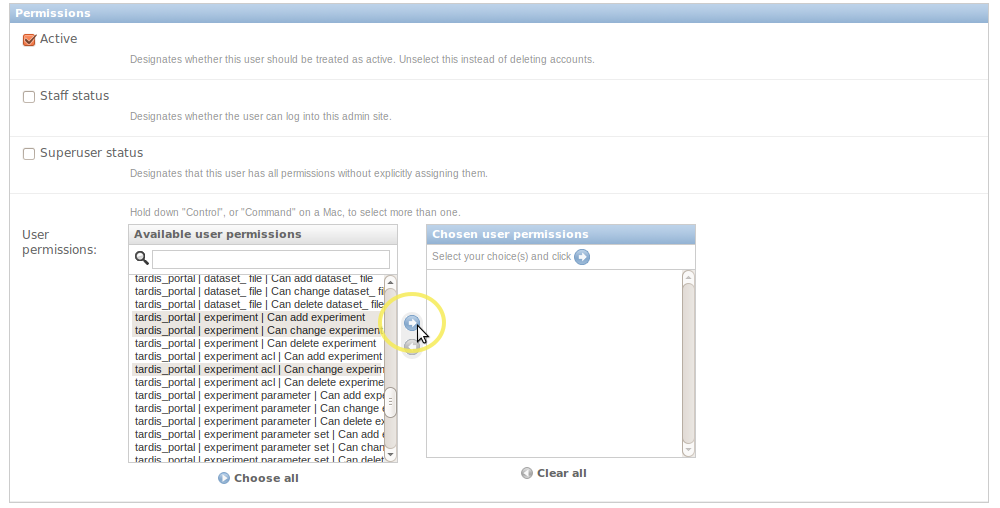
Assign basic access permissions for a regular user. Four basic user permissions are recommended,
- Can add experiment: allow users to create their own experiments.
- Can change experiment: allow users to edit their own experiments.
- Can change experiment acl: allow users to manage experiment access.
- Can change user authentication: allow users to manage their passwords.
The following three steps will show you how to assign access permissions to users.
Select these three basic access permissions from Available user permissions box (press Ctrl for multiple selection),
Click on the right arrow button right next to the Available user permissions box.
Then you will see that the chosen permissions are on the Chosen user permissions box now.
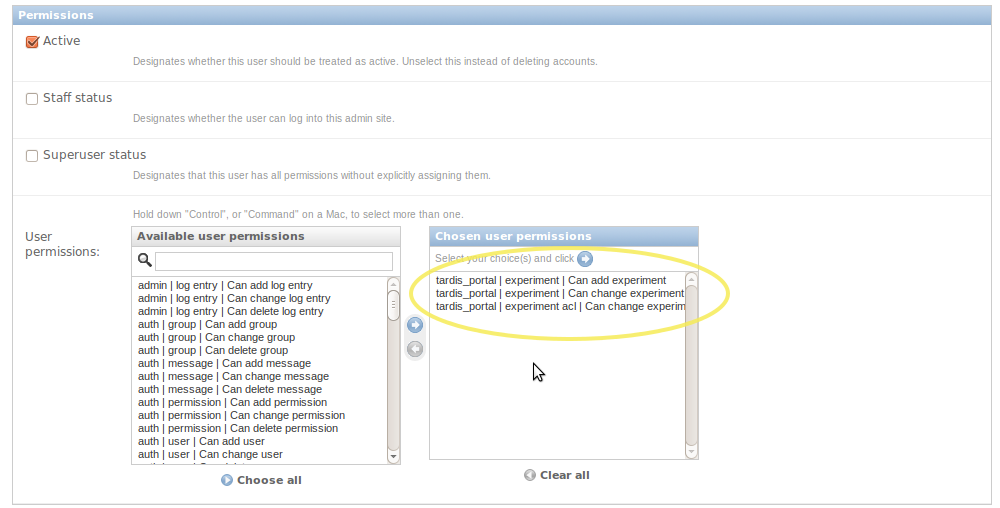
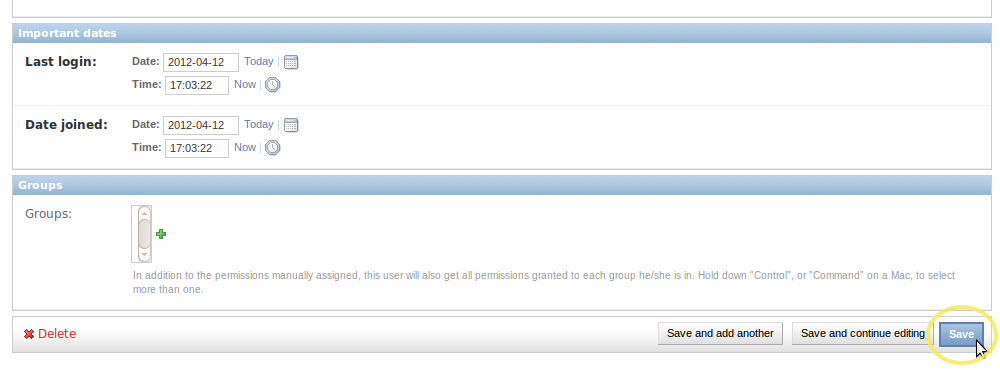
Leave everything else as default values, then click on Save button on the same page to finish editing user’s info and basic permissions.
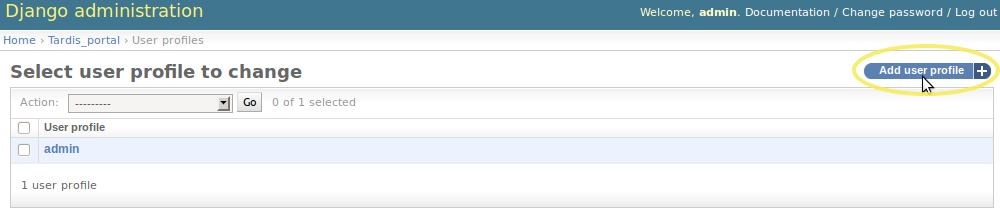
Add a User Profile
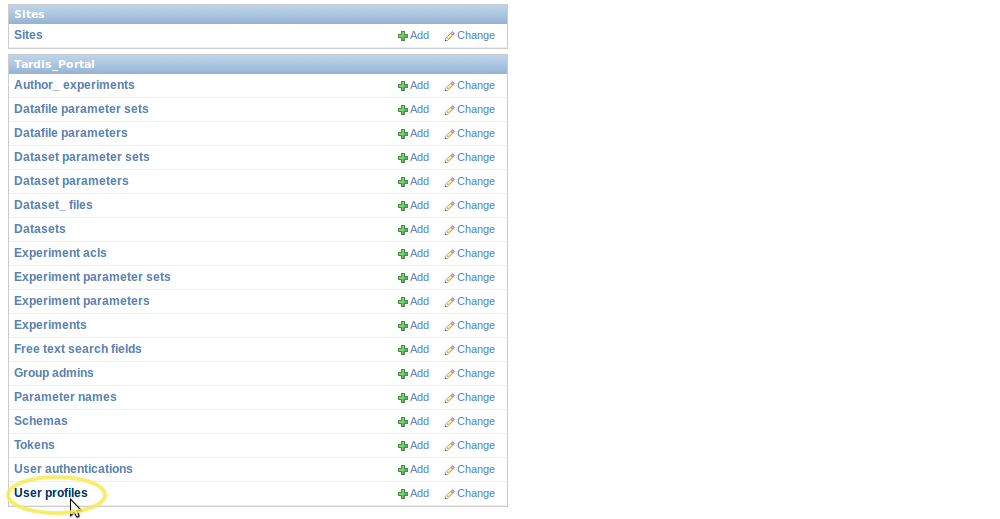
Go back to MicroTardis administration home page. Find User profiles in Tardis_Portal box; then click on it.
Then you will see the following page showing User profiles data table. Click on Add user profile button in the top right-hand corner of the screen.
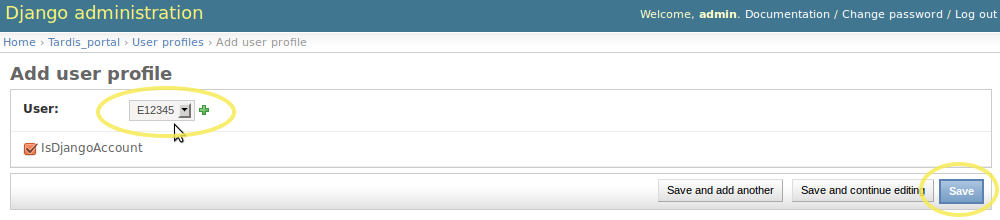
Choose the User object that you just created, then click on Save button in the bottom right-hand corner of screen to create an user profile object.
Add a User Authentication
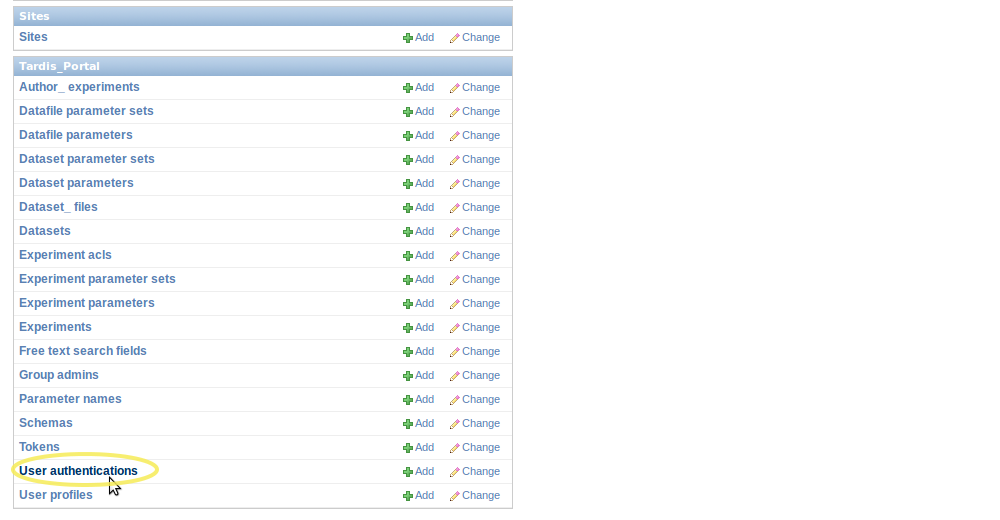
Go back to MicroTardis administration home page. Find User authentications in Tardis_Portal box; then click on it.
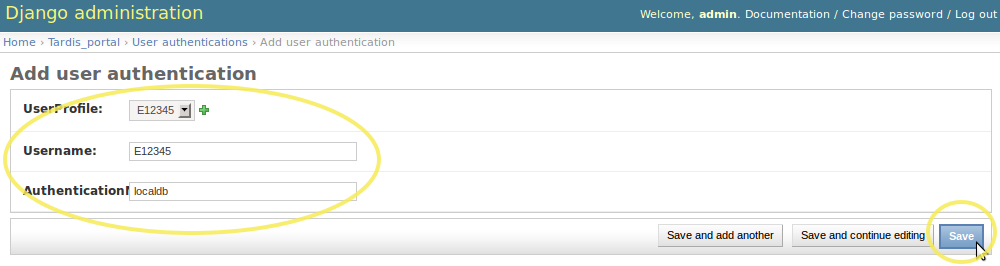
Then you will see the following page showing User authentications data table. Click on Add user authentication button in the top right-hand corner of the screen.
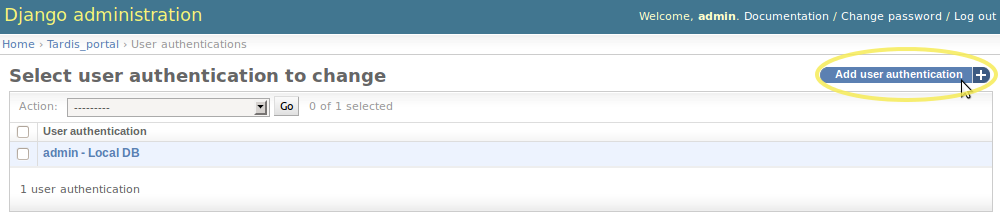
Choose the UserProfile object that you just created, give a Username, and specify AuthenticationMethod as localdb. Then click on Save button in the bottom right-hand corner of screen to create an user authentication object.
Create New Groups
In Django, groups are a generic way of categorising users so site administrator can apply permissions to those users. A user can belong to any number of groups. A user in a group automatically has the permissions granted to that group. For example, if the group Students has the permission can_add_experiment, any user in that group will have that permission.
In MicroTardis/MyTardis, groups are also a convenient way to share experiments and the associated datasets and datafiles with users in the same group.
Please note that regular users don’t have permissions to create groups. By default, only site administrators and superusers can do this.
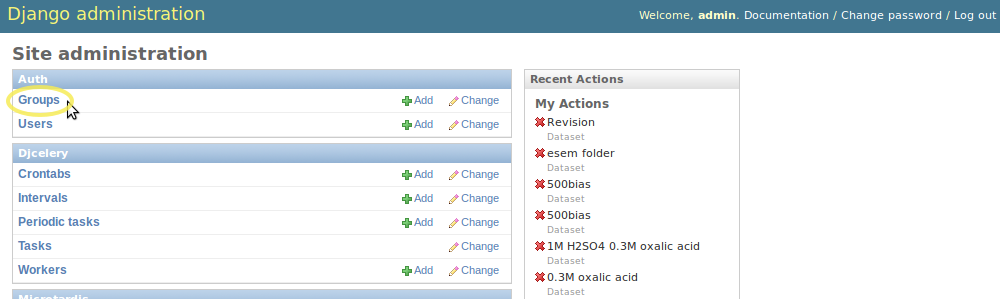
Go back to MicroTardis administration home page. Find Groups in Auth box; then click on it.
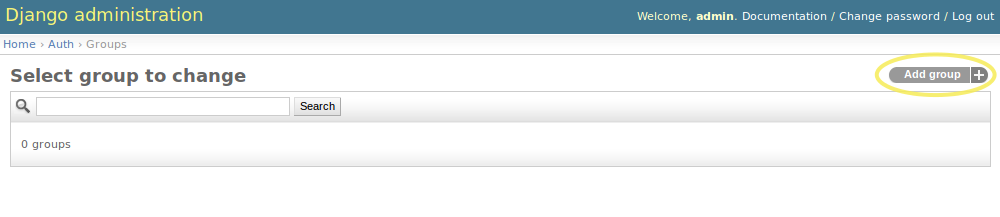
Then you will see the following page showing Groups data table. Click on Add group button in the top right-hand corner of the screen.
Choose a group Name and assign Permissions to this group. Here the four basic access permissions are assigned to the group. You can give more or some other permissions to your groups depending on your real needs. Then click on Save button in the bottom right-hand corner of screen to create a group object.

Assign Group Owners
All users which are owners of groups have the permission to edit the membership. You have two ways to assign an administrator/owner to a group,
- via MicroTardis web portal
- via MicroTardis administration interface